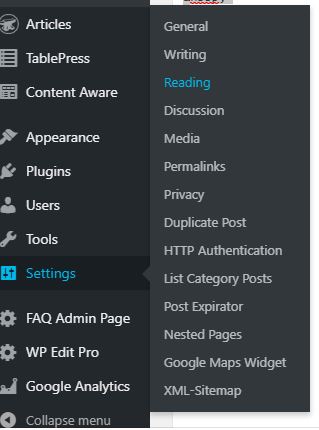
From the site dashboard, navigate to Settings > Reading in the menu.
In the Reading Settings page, scroll down to a section labeled Site Visibility. There will be 5 options as shown below:
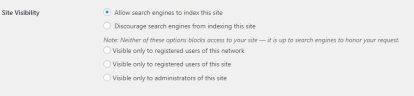
- Allow search engines to index this site
This option makes your site public and allows Google and other search engine to index your site and updating site links in search results
- Discourage search engines from indexing this site
This option still makes your site public but discourages search engines from indexing your site and updating site links in search results.
Note: Neither of these above options blocks access to your site — it is up to search engines to honor your request.
- Visible only to registered users of this network
This option will make your site only accessible by those with a valid GatorLink username and password. This provides some privacy for your site while still making it visible to active members of the UF community
- Visible only to registered users of this site
This option will make your site only accessible by those with a valid GatorLink username and password who have also been added to the Users list for yoursite. To view the list of users select Users from the dashboard menu.
- Visible only to administrators of this site
This option will make the site only accessible by those whom you have granted administrator privileges to for your site. The site administrators are in the same section as the Users, but will have “Administrator” as their role.
The first option is the most public, while the last option is the most private. Choose a privacy setting that meets your specific desires from your website. This can be changed at any time.